The 7 Skin Method Ironed Out My Frown Lines -Here’s How To Do It
Plump lines, layered hydration.
This article includes affiliate links.
I’ve been layering toner after toner in complete awe of how smooth my skin looks afterward. And I’ve been acting like I’ve discovered the secret to youthful skin. As it turns out, toner layering is a Korean skincare practice called the 7-skin method. Well, I was going to name it the ‘Drench Method’ but it looks like I’m a dozen years late to the trend. But still. That doesn’t change the fact that toner layering or the seven-skin method works. And I’ve got before-after pictures to prove it. So trust me, this K-beauty technique is a game changer. Keep reading to learn everything about the Korean 7-skin method and how to properly do it for healthy, plump, glowing skin.
What Is the 7 Skin Method?
According to Allure, the 7-skin method is applying a watery toner or essence up to 7 times in a row. The idea is to help your skin better absorb the toner so that you get the most out of it and achieve plump, glowy skin.
The reason it’s called the 7-skin method is that toners are referred to as ‘skins’ in Korea, which means the method is actually called the 7-toner method in K-beauty. That’s why it’s also sometimes called the 7 skins method.
While some people use one toner and apply it 7 times, others, such as yours truly, apply different toners multiple times.
Benefits of the 7 Skin Method
The 7-skin method provides a deeper layer of hydration, 7 layers of hydration to be exact because the toners used in this method are all watery, hydrating liquids made with humectants. So the most important benefit of the 7-skin method is instantly hydrated, plump skin.
A secondary benefit includes radiant skin because hydration can make the skin look healthier and dewy. I’ve talked about serum layering before, and I mentioned that there’s a cumulative benefit to layering different serums.
It just ends up giving you brighter skin even if the serums are not supposed to be brightening. It’s the same with toner layering. All that replenishing gives you even, radiant skin.
But here’s why I love this method based on what I’ve experienced myself from consistently using this method several days in a row in my skincare routine.
The 7-skin method helped with my frown lines, which are the two vertical lines between the brows. Apart from my giant Turkish nose, my frown lines are my most prominent facial features. Well, I’ve got a lot of stuff to frown about, what can I do?
But toner layering, because of the plumping which I wasn’t able to get from any other method, literally smoothed out my frown lines. That’s why I was also considering calling this method the ‘Hydra Smooth Method’ but again, I’m late.
Which Toners To Use For the 7 Skin Method
Water-based hydrating toners, essences, and mists are the best toners to try for the 7-skin method. And in case you’re using one toner to layer 7 times, make sure you’re using an alcohol-free toner. Otherwise, you may end up drying or irritating your skin.
Similarly, you can’t layer an exfoliating toner made with acids 7 times in a row. You will end up over-exfoliating your skin. So stick with gentle, hydrating toners made with replenishing ingredients such as aloe, hyaluronic acid, rose water, and the like.
I use different toners for each layer. And I do use an exfoliating toner once. But because it’s the only one with an active ingredient, I don’t experience any irritation as the rest of the toners are all hydrating and soothing toners.
How To Do the 7 Skin Method
If you’re ready to give this a try, here’s a step-by-step guide on how to do the 7-skin method.
Step #1: Start with a Clean Face
To properly layer your toners, start with a freshly cleansed face. That way, there’s no barrier between your skin and the toners you’re about to apply multiple times. So wash your face, wait for it to dry, and move on to step two.
Step #2: Start Layering Your Toner
This is the actual method. This is the first layer of your toner. But here’s what to know about the application. Most of us use cotton pads to apply toner. Personally, I think it’s best to apply your toner without pads. You’re not really exfoliating or ‘cleansing’ your skin, are you? You’re trying to hydrate your skin as much as you can. So pour the toner into the palm of your hands and press the liquid into the skin.
Step #3: Wait Between Layers
It’s important to wait for the toner to absorb and for your skin to dry before moving on to the second layer. Otherwise, you’re just using a lot of products at the same time. But actually, you want to add on hydration gradually.
Step #4: Keep Layering Your Toner
From here on, it’s all up to you to decide how many times to layer your toner. You can go through with it and actually apply your toner 7 times or keep it at three or five. If you’re using different toners like me, here’s what to keep in mind. Some toners can contain lightweight oils. So not all of them are water-based. In that case, make sure you start with water-based toners and layer oily or bi-phase toners on top. Otherwise, your skin won’t properly absorb.
Step #5: Moisturize
Just like you’d normally do, finish your routine with a good moisturizer to seal everything in. As toners are water-based products, they require an emollient cream. Otherwise, you won’t be able to retain moisture. If you prefer, you can use your face serums before moving on to your moisturizer.
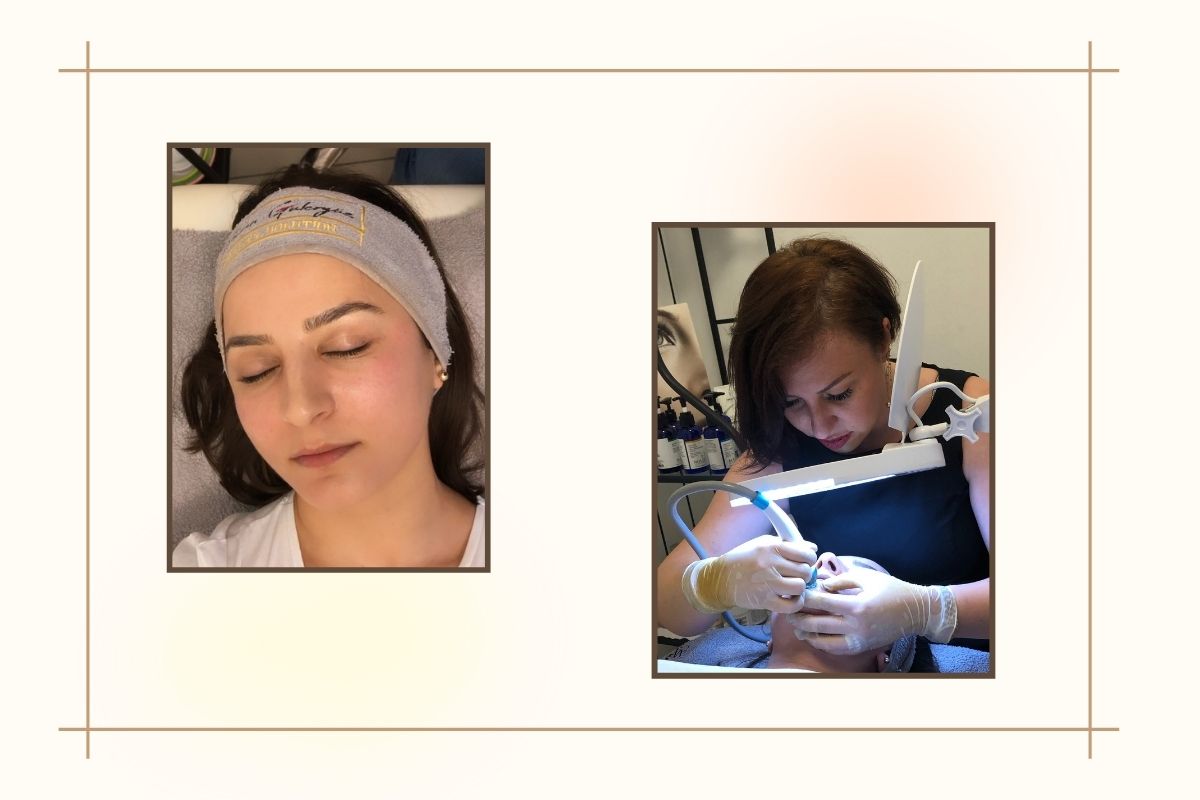
7 Skin Method Before and After
As you can see below, I took a selfie after I washed my face. The second picture is when I was done with my toners. My skin is clearly more radiant and it actually reflects light. And as I’ve mentioned, my frown lines are considerably smoother.
That’s why I also wanted to call this the ‘Wrinkle Release Method’ or the ‘Frown Fade Method’ but again, the K-beauty beat me to it. The third selfie is after I finished my routine with my moisturizer.
I use Lancome Hydra Zen Liquid Moisturizer. Though it does have a radiant finish, that moisturizer does not look that glowy when I use it without the 7 skin method.

So this is how you do the 7-skin method at home to achieve your plumpest skin. I can confidently say that you will see the difference starting from your first time. And it gets better if you consistently do it.
You don’t need to go out of your way to try the seven-skin method. You can just use what you have at home. You can use the original method and use one toner and do seven layers. You can also use different toners and layer them on top.
If you’re curious about what kind of toners work best for this, I’ve listed below my toner recommendations for the 7-skin method. These are the toners I use and I listed them in the order I apply them.
Toner Recommendations For the 7 Skin Method
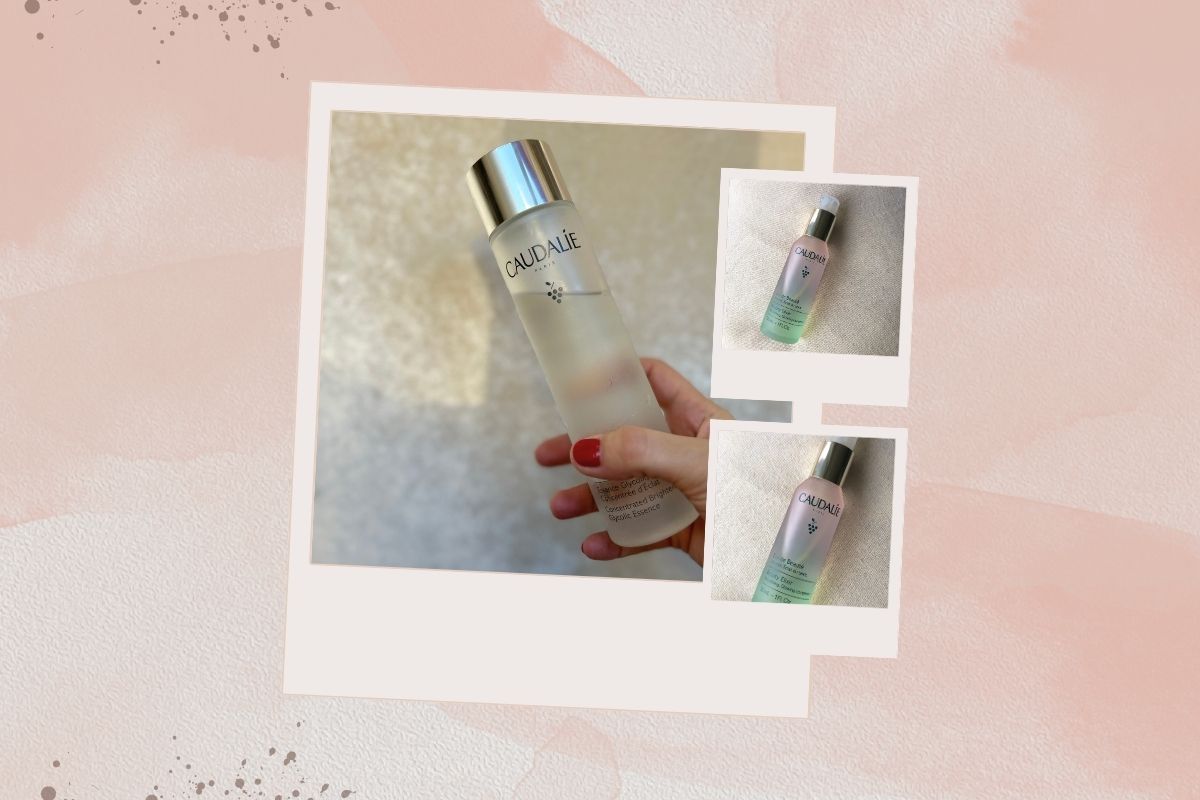
1. Caudalie Vinoperfect Brightening Glycolic Essence

This is a facial essence, an exfoliating one, that I use as the first step in my 7-skin method routine. Again, you don’t want to layer exfoliating toners on top of each other. But I exfoliate regularly. So this is the one I use right after cleansing to get the most benefits. It’s a gentle exfoliator that leaves my skin glowing and radiant. If you have very sensitive skin or you can’t tolerate active ingredients or you don’t want to exfoliate, skip this one.
Key Ingredients: Glycolic acid, grape water
Size: 5 oz/150 ml
Good To Know: Vegan, cruelty-free
2. Caudalie Grape Water Moisturizing Face Mist

From here on, I move on to the lightest liquids I have. This is a face mist and it’s basically grape water. It’s the lightest one I have. So I apply 3 spritzes just to start with a very lightweight base. It’s hydrating but it’s also soothing for my redness-prone, rosacea skin. And that’s handy when you’ve just exfoliated.
Key Ingredients: Grape water
Size: 6.7 oz/200 ml
Good To Know: Vegan
3. Caudalie Vinoclean Moisturizing Toner With Rose Water

This is an alcohol-free moisturizing toner and because of its liquid consistency, it disappears into your skin. It has rose water in it which is super replenishing for the skin. I pour some into the palm of my hands and press it into my skin. I use this one two times just to do the 7-skin method justice. Also, this is right about when I start to see a visible difference in my skin compared to when I use a single toner.
Key Ingredients: Rosewater
Size: 6.7 oz/200 ml
Good To Know: Vegan
4. Dermalogica Multi-Active Toner

So from here on, I part from water-based, or water-like toners. This is a toner mist that contains certain plant oils. I started using this when I actively started following anti-pollution skincare. And I love how replenishing it is. It hydrates with aloe, flower waters, and amino acids but also contains botanical extracts. Again, I do three spritzes on my skin. It sprays out a bit bubbly but settles down into your skin like a weightless, liquid moisturizer. And at this step, my skin gets super soft.
Key Ingredients: Amino acids, aloe
Size: 8.4 oz/250 ml
Good To Know: Vegan, cruelty-free
5. Caudalie Beauty Elixir

This is another face mist I like to use because of its antioxidant-rich formula. It’s made with several skin-toning essential oils. This leaves my skin looking radiant, and feeling softer. At this point, my frown lines smooth out to a great extent. On a side note, I love Caudalie’s toners for my sensitive skin. That’s why the majority of my toners are from Caudalie.
Key Ingredients: Rosemary essential oil
Size: 3.3 oz/100 ml
Good To Know: Vegan, cruelty-free
6. Fenty Skin Fat Water Niacinamide Pore-Refining Toner Serum

Lastly, because this is a toner serum, it’s a tiny bit thicker than the other toners. So this is what I apply as the last step before I move on to my cream. It’s a niacinamide toner that helps brighten skin and support the skin barrier. Because I wait between steps and let my skin fully absorb the toner, my skin drinks this one up. And I don’t even deal with skin pilling.
Key Ingredients: Niacinamide, acerola cherry extract
Size: 5 oz/150 ml
Good To Know: Cruelty-free, vegan
So these are the toners I use for the seven-skin method. Again, use what you currently have. And do it as I did and take a before/after selfie and see for yourself. I mean, smoothing out deep frown lines instantly? That’s a big win if you ask me.
You can do the 7-skin method as often as once or twice daily. I do it once a day in the evening because it takes time. Again, don’t leave it there, and remember to finish your skincare routine with your moisturizer.
And if I may let you in on a secret; if you really want to try the seven-skins method and just drench your skin in hydration, and boost your glow, try dermaplaning at home to remove peach fuzz. It’s an incredibly effective way to maximize skin penetration.