How to Apply Foundation for a Flawless Base
Skin first, coverage second.
The way you apply foundation changes everything!
You can make a very basic foundation look sophisticated and elegant by applying it the right way. And you can make a high-end foundation look very basic by applying it the wrong way. That’s how important foundation application is.
And as it turns out, it’s not just about blending, though that’s one aspect of it. Whether you’re a makeup beginner or you could use some tips and tricks to brush up on your techniques, below is everything you need to know to master the art of applying foundation.
How to Apply Foundation
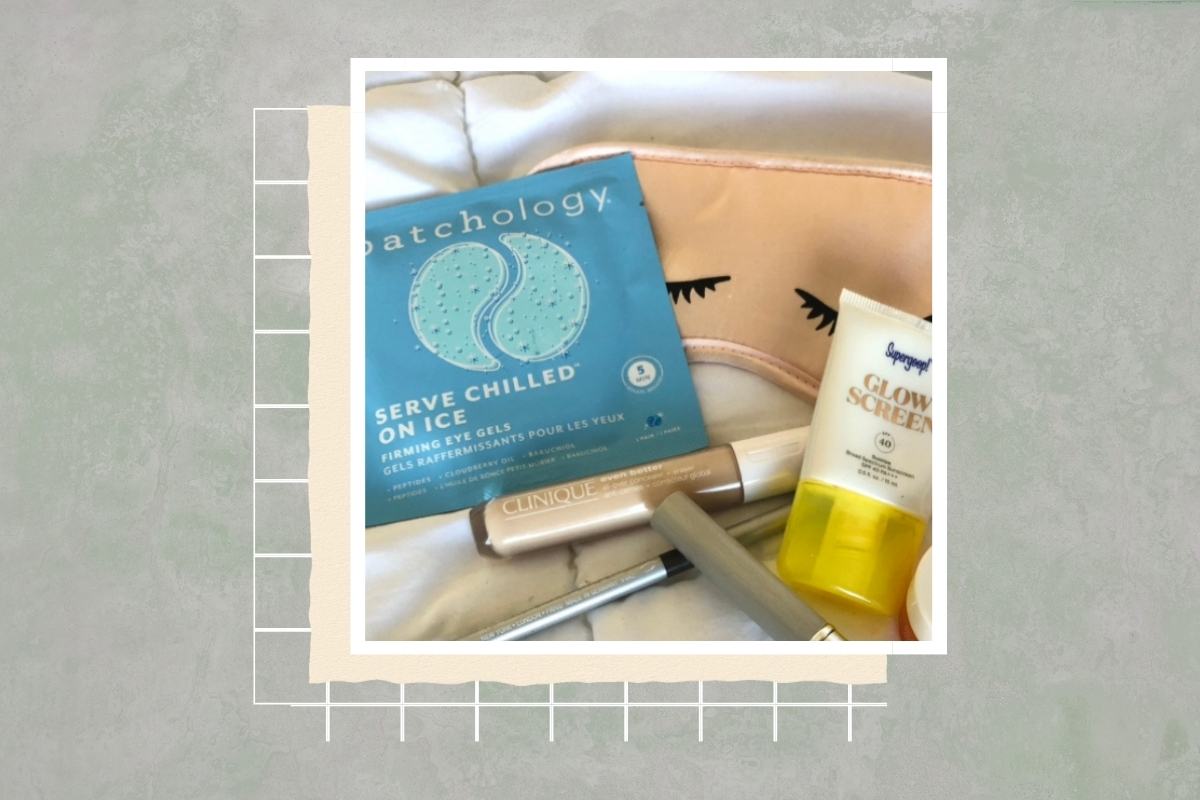
1. Prep Your Skin
Skin prep refers to applying your skincare before applying makeup. The importance of good skin prep is about achieving a healthy makeup look no matter how much coverage we’re seeking.
When you properly hydrate and moisturize your skin underneath makeup, you prevent flaky-looking foundation to a great extent. So before anything else, start with a clean canvas and apply your serums and moisturizers.
2. Prime Your Skin
Priming refers to using a makeup primer before applying foundation. In general, primers help keep your makeup in place, prevent it from separating later on, make your foundation look smoother, and make your makeup last longer.
But there are additional benefits to it too. You can wear an illuminating primer to achieve a dewy foundation look, a blurring primer if you have uneven skin texture or acne, and even a mattifying primer if you have oily skin. So if you need to maximize your finished look, take advantage of makeup primers.
3. Find Your Shade Match
This is probably the most important aspect of achieving a makeup look that suits your skin. Your foundation shade needs to match your skin tone as well as your undertone.
Otherwise, no matter how beautiful your blending is or how natural-looking your foundation brush is, the shade difference will be visible, especially around the jawline. So try different shades on different parts of your face and sample foundation in-store under different lights.
4. Use the Right Type of Foundation
There are different types of foundation such as cream, liquid, stick, and powder. Using the right type is important for achieving a nice makeup look with the desired coverage.
So you need to match your skin type with the formula you’re using. In general, powder foundations can look heavy and don’t sit well with dry skin types.
Liquid foundations are right in the middle and usually work for all skin types and textures and they come in varying coverages. They’re also more buildable than other types of foundations. That way, you can increase coverage depending on your liking.
5. Choose the Right Finish
Foundations come in different finishes too. There are matte finish foundations, dewy finish foundations, natural finish foundations, and anything in between.
Dewy finish foundations tend to look more fresh and youthful. And they look flattering, especially for mature skin and dry skin.
Matte finish foundations are ideal for people with oily skin or when it’s summer and you need something long-lasting. You can always go for natural finish options if you don’t have a particular preference for your finished look.
6. Choose the Right Tools
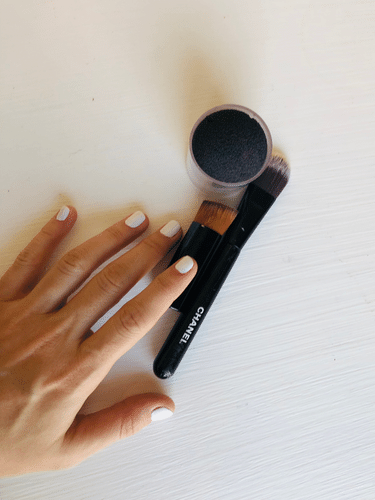
You can apply your foundation using a foundation brush, a beauty sponge, or using your fingers. This all depends on your preference, the kind of coverage you want, and what you have available. Makeup tools make things incredibly easy, but you don’t have to use any tools if you don’t have one.
7. Apply Foundation with a Brush
The tried and true way of applying any type of foundation is by using a foundation brush. Most liquid foundations are applied using a brush, especially when you want high coverage with a flawless finish.
Also note that there are several types of foundation brushes out there but the most commonly used ones are stippling brushes with dense bristles and flat brushes, which are beloved by makeup artists. Here’s how to apply your foundation using a foundation brush.
Step 1
Pump out a small amount of your foundation on the back of your hand. Avoid applying foundation directly onto the face to prevent overuse.
Step 2
Use your foundation brush to get the foundation from the back of your hand. Swipe or dab your brush once on the right cheek and once on the left cheek to lay down the product.
Step 3
Blend your foundation starting from the center of the face and going outward. Buff your foundation into the skin by doing small circular motions if you’re using a stippling brush or do small swiping motions if you’re using a flat brush.
Move on to the chin and the forehead and make sure you apply an even layer of foundation on the entire face. Avoid applying too much foundation under the eye area or skip it altogether if you’re using an under-eye concealer.
Step 4
If you prefer, you can layer for more coverage, especially if your foundation is medium coverage. Dab the brush onto the back of your hand again to get more product. Repeat the same process and apply another even layer of foundation.
8. Apply Foundation with a Sponge
You can use makeup sponges or beauty blenders to apply foundation and in fact, using a sponge is a good way to make full-coverage foundation look natural and skin-like.
Liquid foundations, powder foundations, and cream foundations can all be used together with a sponge. Here’s how to apply your foundation using a sponge.
Step 1
A dry sponge usually doesn’t work as well as a damp sponge. It can give you a flaky, streaky appearance especially if you have dry skin. A completely wet sponge, on the other hand, will soak up a lot of foundation, waste a good amount of product, and also make blending difficult.
So run the sponge under the water first to wet it. Then take a tissue paper and wrap it around the sponge, squeeze it to get excess water, and leave the sponge damp.
Step 2
Squeeze out a pump of foundation on the back of your hand first. Dab the big, round part of your sponge onto the foundation to get a small amount of product. Then pat the sponge across the face to lay down the product. Put some on the cheeks, the forehead, and chin.
Step 3
Starting from the center of the face, do dabbing motions to work the foundation into the skin. Don’t rub, swipe, or swirl your sponge. All you need to do is dab until you have a smooth, even layer of foundation. Repeat until you’re satisfied with the coverage.
9. Apply Foundation Using Your Fingers
You can apply liquid foundations and cream foundations with your hands. Certain foundations, especially foundation alternatives like tinted moisturizers and skin tints look even better when you apply them using your fingers.
But when you’re applying a high-coverage foundation, remember to start slow because it’s very difficult to adjust the coverage and blend. Here’s how to apply your foundation using your fingers.
Step 1
Pump out a little amount of foundation on the back of your hand. Again, this prevents overuse because while you can take off the foundation using a sponge, you can’t do that with your fingers.
So you need to start slowly. Use your finger to get a little amount from the back of your hand and put a few dots of foundation onto the cheeks, forehead, and chin.
Step 2
Use two or three fingers to keep it less messy, and to smear the foundation onto the cheeks to spread it. Start slow and do little circular motions starting from cheeks outward and going down toward the chin. Do the other side and finally blend the foundation on the forehead. Keep blending until it looks even.
10. Set Your Foundation
You can use a setting mist to set your foundation in place. This ensures that your makeup lasts longer and looks better. Avoid using a setting powder if you have very dry skin or you’re going for a more natural look.
So this is how to apply foundation for a flawless base. In essence, it starts with choosing the right foundation and applying it using the right tool. If you’re a beginner, remember to check out these common foundation mistakes to avoid to save yourself some time.
Read Next: Foundation Coverage, Explained