How to Give Yourself a Spa-Level Facial at Home
Luxury results, home ritual.
A professional facial is a luxurious experience, but you don’t have to visit a spa to achieve radiant, glowing skin. With the right products and techniques, you can give yourself an effective facial at home.
Whether you want to deeply cleanse, hydrate, or brighten your complexion, here’s a step-by-step guide that will walk you through the process for a spa-like experience in the comfort of your home.
Personally, I love doing this at least once a month. I feel super refreshed and renewed afterward. And sometimes, I actually do this at-home facial after an everything shower. It becomes exhausting but hey, this is the way I’d like to spend my Sundays.
Keep scrolling to find out how to give yourself a spa-level facial at home.
How To Do a Facial at Home
Step 1: Create the Ambiance
That’s the major difference between a skincare routine and a proper facial, isn’t it? Being in a hurry and squeezing every step into 5 minutes is what you do on a Monday morning.
So, there’s no limit here. Light up your scented candles, put on some music, put on your silk robe, and put on a hairband. Get in the mood!
Step 2: Start with a Clean Face
This is the first step of your at-home facial. Instead of rubbing your cleanser onto your face for 30 seconds and washing it off, take your time with it. Do a double cleanse.
Use an oil cleanser to melt away the makeup. Massage it in to dissolve everything. Use a warm cloth to wipe everything off. Then move on to your regular cleansing step. Wash your face thoroughly and rinse it off.
Step 3: Steam
Steaming is essential in any facial. If you own one, use your face steamer to warm up the skin and open up your pores. If you don’t have one, put some hot water into a bowl and lean over to steam your face.
Put a proper distance from the bowl, about 10 inches, and let the steam warm up your skin for about 5-10 minutes. When you’re done, pat your face dry.
If you have very sensitive skin or rosacea, either do it for a couple of minutes or completely skip this step because steaming can be irritating for sensitive skin.
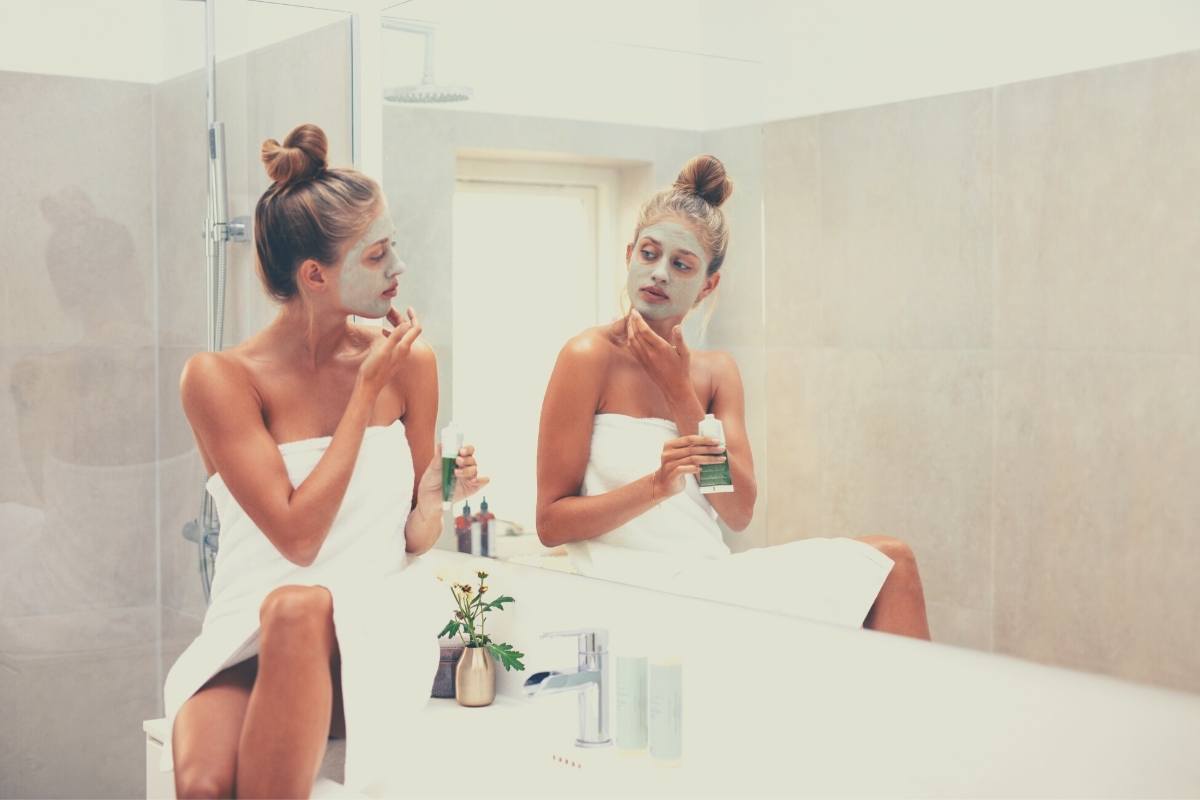
Step 4: Apply Clay Mask
This would be time to do some extractions if it was a professional facial. But when an at-home facial is concerned, try clay masks to unclog pores and remove impurities from the skin. You can also use a nose strip or peel-off mask for blackheads.
And since we’re going for spa vibes, try using tools for applying masks. Use an old makeup brush to spread out the clay mask instead of using your fingers. When you’re done, use a warm cloth to get rid of the mask.
Step 5: Exfoliate Gently
Your skin is super ready to absorb your skincare. That means your products will be more effective. And it’s time to apply your exfoliant.
Exfoliants come in all forms. Instead of using a leave-on liquid peel, try something gentler like a peel pad to wipe your face with. A low-concentration glycolic acid pad is going to remove the dead skin cells and also brighten up the skin.
If you have oily, acne-prone skin, use a salicylic acid pad to clear up pores. Use your peel pad on dry skin and give it 5 minutes until your skin fully absorbs.
While you can consider exfoliating first and then applying a mask, I prefer doing things in this order. Exfoliants should stay on the skin whereas when you use a clay mask after exfoliating, you’re going to have to wash it away. So this order should work better.
Step 6: Put On a Sheet Mask
Now that you’re done, it’s time to bring back the glow. Use a hydrating sheet mask to plump up the skin and achieve that post-facial glow. Apply your juiciest sheet mask and use a Jade roller to massage it in.
Once you’re done with the sheet mask, remove it and keep massaging the leftovers using the roller. It’ll help with absorption and de-puffing. Remember, masks are the most fun part of giving yourself a facial at home.
So try binge-masking or applying colorful masks to make things different from a regular skincare routine. Again, no rush!
Additionally, gel masks and hydrogel under-eye patches go really well with this step. Your skin is fresh as a daisy, so hydrating products really amp up your glow.
Step 7: Apply Toner
Toners are lightweight mostly water-based products. This could be the perfect time to squeeze in a hydrating toner or a gentle brightening toner. Simply swipe it over your face using a cotton pad or gently press it in with your hands.
Step 8: Apply a Face Serum
Your serum has the lightest consistency. Before using your creams, apply your favorite serum onto your freshly plumped skin. Make it a dewy-finish one to add some glow.
If you have dry skin, even a simple hydrating serum will make all the difference for your skin and bring about a natural glow to your complexion and some flush of color to your cheeks. You can also use a brightening serum to revive and energize the skin.
To enhance this step, you can use a Gua Sha tool to give yourself a massage. Your serum will make the tool glide easily on the skin. Start from the mid-face. You always want to go outward and upward to tone the skin.
Step 9: Moisturize
Get a pea-sized amount of your moisturizer and gently pat it on. Instead of slathering your face with it and possibly moving around products, try pressing it in to keep the glow in place.
Drag your moisturizer down to the neck and chest as well. Don’t forget to apply your eye cream. Look for ingredients like caffeine for depuffing or peptides for anti-aging benefits.
Step 10: Add Some Oil
This is optional but it does make a difference, especially during colder months. Get a few drops of your facial oil and pat it on your cheeks to lock everything in.
Face oils are glow-boosters by default. They increase radiance and keep the skin moisturized for longer. Now your face is plump and glowing. As a final touch, use a lip balm to bring out the color of your lips.
Tips to Get the Most out of Your At-Home Facial
- Try to create a consistent routine for this at-home facial. You’ll see that the results improve over time.
- Customize your facial depending on your skin’s needs. For example, during colder months like in winter, focus on creating a moisturizing facial. If your acne is acting up, include anti-acne products in your facial such as charcoal masks, exfoliants, and balancing serums and treatments.
- Consider dermaplaning, which is removing tiny hairs from the skin. It makes your skin incredibly glowy, removes dead skin cells like physical exfoliation would, and makes your skincare products absorb better. Squeeze in dermaplaning in your facial every now and then. When you do, skip steaming on that day because it can cause irritation.
- Make use of facial tools like anti-aging devices to maximize your results. Try microcurrent devices or massaging tools.
- Remember to wear sunscreen the day after your at-home facial. Exfoliants can make the skin prone to sunburn.
So this is how to give yourself a facial at home. It’s energizing for the skin and the results are instantly visible in the form of glowing, radiant, plump skin. But if you’re feeling lazy, check out our favorite at-home beauty treatments to try when you’re bored and have time on your hands.
FAQs
Read Next: Do Facials Work?