How to Color Correct Redness Without Overdoing It
A softer way to even your complexion.
I’m not always into full-coverage foundation, especially when summer hits and my face just wants to breathe. I’m all for a light-coverage foundation that feels like skin, but here’s the kicker: it never quite hides my redness. Nope, not even close.
If you’re dealing with rosacea or just stubborn redness that won’t quit, then you know the struggle of wanting a natural look without looking like you’re permanently embarrassed.
So, I tapped into color-correcting makeup. It’s not my forever obsession, but it’s been a handy trick to tone down redness before foundation goes on.
In case you’re new, color correcting is a makeup technique that involves using one color to cancel another one out. For our purposes, green is what we use to color-correct redness.
Whether you’re trying to neutralize redness from sensitivity, redness around the nose, or acne, color correcting can help you even out your skin tone. Here’s a step-by-step tutorial on how to do it with before and after photos.
How To Color Correct Redness
Step 1: Start with Calm Skin
Color correcting is the first step in makeup, which means your skin needs to be prepped and ready. And if your redness is coming from sensitivity, irritation, or rosacea, trust me, this part isn’t optional.
In fact, a good skincare routine can make you less reliant on color correctors altogether. Some products can visibly reduce redness before you even pick up makeup.
So start with clean skin, use a calming toner, follow with a gentle moisturizer, and don’t skip sunscreen.
My face turns pink when I breathe wrong. So I always have a few trusty skin-friendly staples in my bathroom cabinet when my skin is acting out. This is a soothing toner by Origins and calms redness immediately!
Step 2: Choose the Right Color Corrector
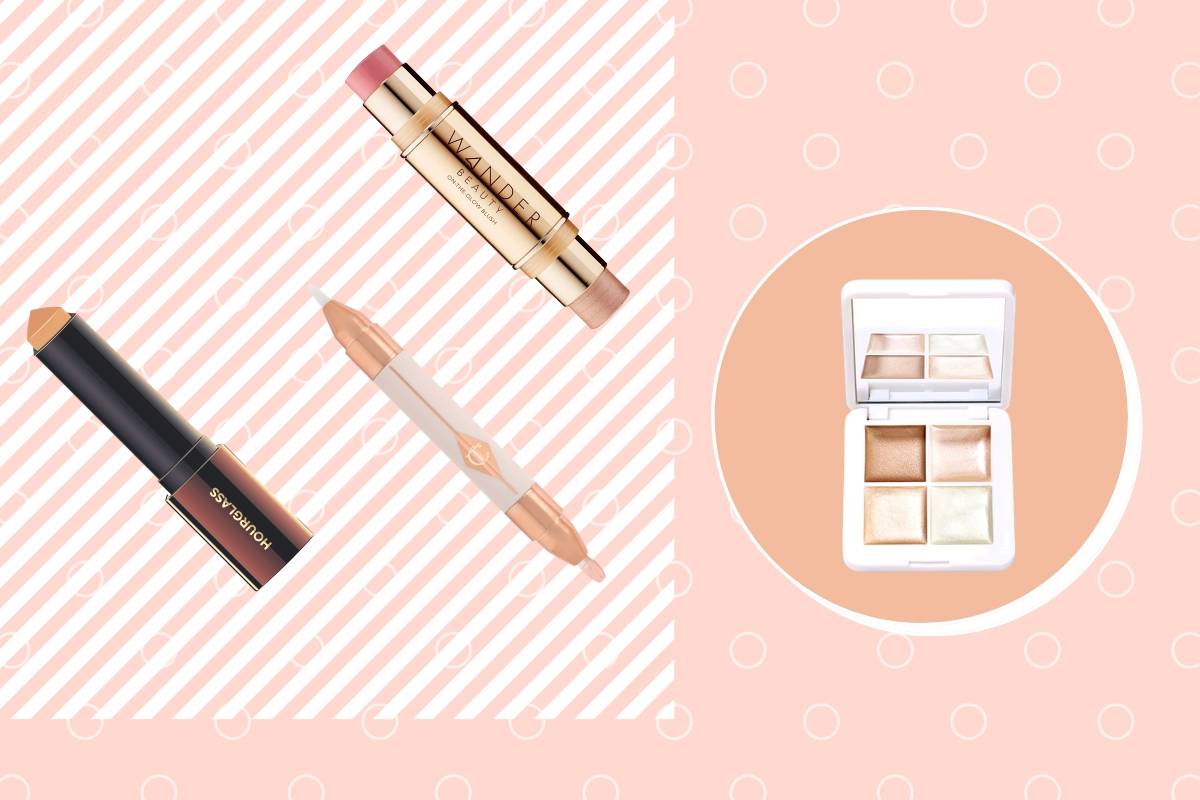
There are a few different ways to color-correct redness, and they’re not all created equal. Green concealers, green-tinted primers, and multi-shade palettes all get the job done, but the right pick depends on how much redness you’re dealing with and how much effort you want to put in.
- Green concealers are the easiest and most budget-friendly option. They’re great for spot-treating specific red areas like blemishes, broken capillaries, or flushed cheeks, and perfect if you’re new to color correcting.
- Color-correcting palettes usually include several shades, such as green and peach, which come in handy if you’re also dealing with dark circles or dullness. These are more cost-effective if you want an all-in-one product, but require a little more effort to apply.
- Green-tinted primers are ideal if your redness is more widespread, like rosacea, and you’re planning to wear foundation. They tone down the red and give your makeup something to grip onto.
Pick the formula that makes sense for your skin and your routine. There’s no one-size-fits-all.
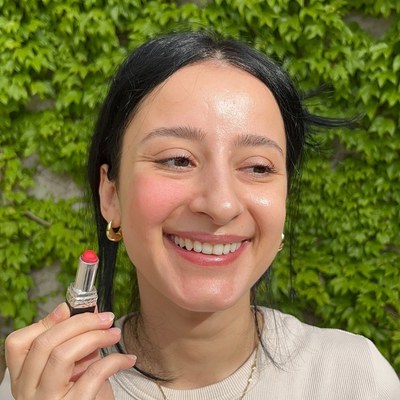
For this tutorial, I borrowed my sister’s calm, cooperative skin and added some faux redness on her left cheek with a red lipstick to demo how color-correcting works. And as a color-corrector, we’re using a green-tinted serum, Dr. Jart Camo Drops.
Step 3: Use the Tiniest Amount Possible
This is the most important step in color-correcting redness. You need to use very little amounts because color correcting is not about coverage but ‘correction’.
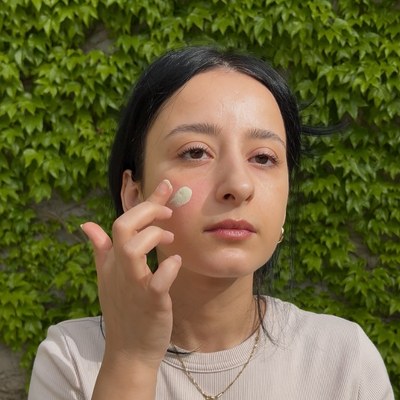
Color correctors aren’t meant to cover your skin. They’re meant to cancel out the unwanted tone. So take a tiny bit of green corrector (we’re talking pin-dot sized) and gently tap it over any red areas, such as cheeks, nose, blemishes, wherever.
If you overdo it, you’ll need more foundation to cover the green, and that’s how you end up with a weird grey cast or a cakey base. Not cute. Start small. You can always add a little more, but it’s way harder to fix too much.
The color corrector we’re using is a skincare-infused formula. But it wouldn’t matter if it was a concealer; we’re starting with a small amount to see how much we need to neutralize the redness.
Step 4: Blend Slowly and Gently
Take your time blending, this isn’t the step to rush. Use your fingers, a brush, or a damp sponge to softly press the corrector into your skin. Gentle, controlled blending helps you avoid over-applying and gives you a smoother finish.
The goal is neutral skin. Not red, not green, just even. Once you’ve blurred the edges and the area looks more balanced, stop. If a bit of redness is still peeking through, you can go in with the tiniest extra dot and blend again.
She’s using her fingers to blend out the serum evenly without rubbing it. Otherwise, we’d just be slathering a mix of green and red on the face. After this layer, she added another dot of the color corrector on top.
Step 5: Let It Settle
Give your color corrector a couple of minutes to dry and set before moving on. If you don’t, your foundation or concealer might mix with it and smear the green around, which is not exactly the flawless look you’re aiming for. Patience here saves you from a patchy, messy base later.
Step 6: Apply Your Makeup
Once you’ve color-corrected, it’s time to build your makeup as usual. The color-corrected areas usually need a light layer of foundation, concealer, or tinted moisturizer to blend everything together and cover any leftover redness.
If you’re using foundation, apply it thinly and blend well to keep your base seamless. If you’re going for a natural, no-makeup look, stick to lighter products like skin tints or tinted moisturizers as they add just enough coverage without feeling heavy.
Since your skin is already more even, you won’t need to pile on concealer or foundation. That means no cakey patches or thick layers, just smooth, balanced skin that looks natural and fresh.

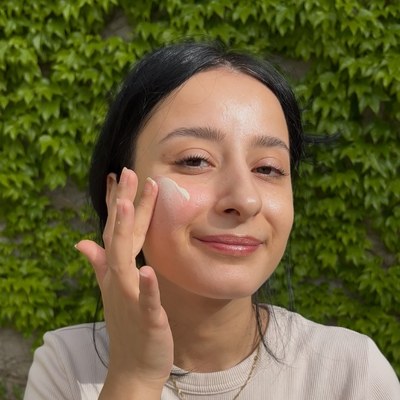
Since she doesn’t need a lot of coverage, she skips foundation completely! The color correcting serum was enough to cancel out redness, leaving her complexion even, making it look like she has a full base going when she doesn’t.
Color correcting is not mandatory. But redness is annoying, persistent, and almost always finds a way to peek through foundation. So instead of caking on foundation, try color correcting with green. When you do it right, it works like magic!
Read Next: Best CC Creams For Oily Skin