The Sunburn Blush Trend Is Here to Stay -Here’s How to Do It
Warm, lifted, effortless.
Everyone’s gobbling on the latest TikTok trend, some of which are beauty practices millennials like me have swallowed, gargled, and spit out long ago. It’s weird seeing our lack of makeup skills become a trend.
Makeup wasn’t as available. So we would make do with what we had and make makeup work double duty. Today, people are blonzing, which is bronzing with a blush.
Blending was such an alien concept. So our concealer would just stay around the eyes clearly marking the area where the muddy-looking bronzer starts below. Today, people call that a look: a look where you create fake tan lines!
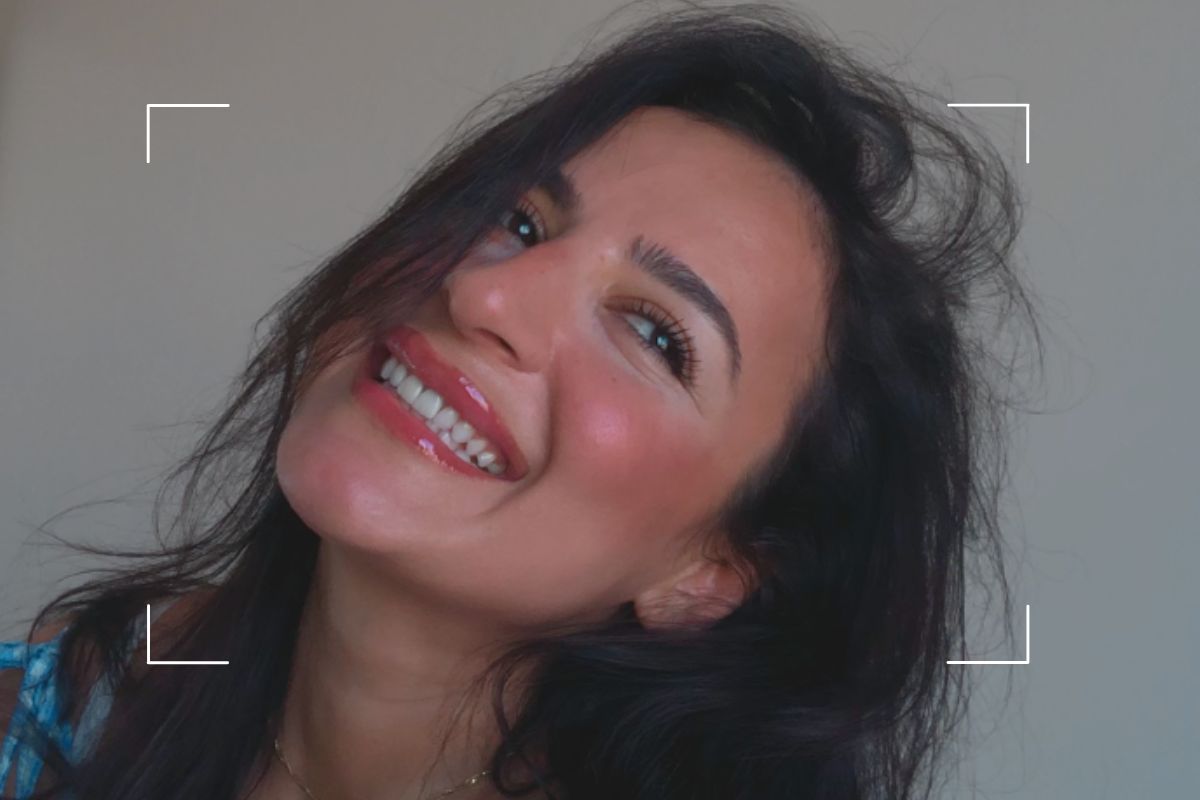
But one of those accidental makeup look discoveries remains more relevant and it still looks cute. It’s the sunburnt blush look.
It has come a long way. We used to look like we got snow burnt around the ski goggles from hitting the slopes all day! These days, it looks much more flattering than it did.
The sunburn blush trend is all about creating the look of a sun-kissed flush on the cheeks and the nose -minus the sun exposure.
It requires a satisfying amount of blush and a specific blush placement. You apply lots of blush in a ‘W’ shape across the mid-face. It’s not subtle. It’s unmissable.
Now that the fall is right around the corner, we can keep the summer vibes going a little while longer with the sunburn blush trend. Here’s how to do it.
Step 1: Finish Your Makeup
A good base makeup will accentuate the pigments of the blush. So start with clean skin and then apply all your makeup steps except for the blush.
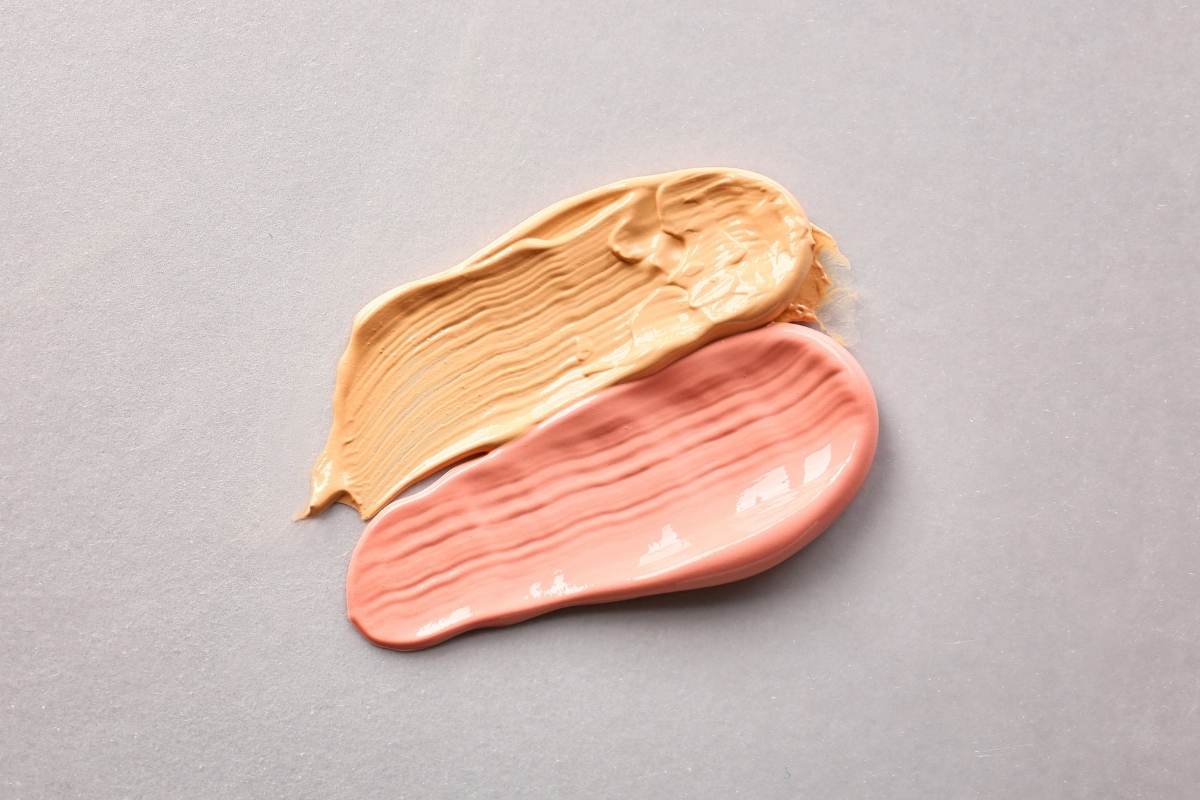
For your complexion, you don’t even need to do too much. Apply a tinted moisturizer or a skin tint for a more natural look.
Use a little amount of concealer under the eyes and blend it well to brighten the under-eye area. That way, the blush will pop even more!
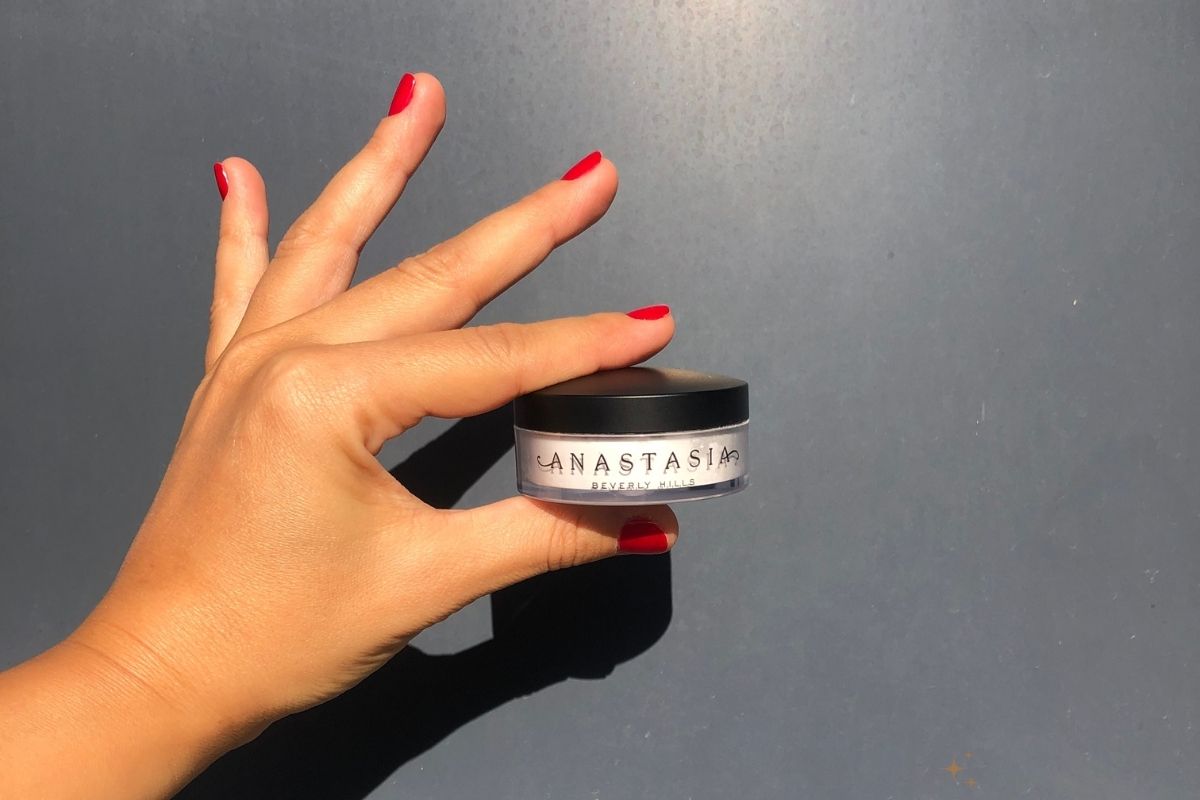
Step 2: Choose the Right Blush
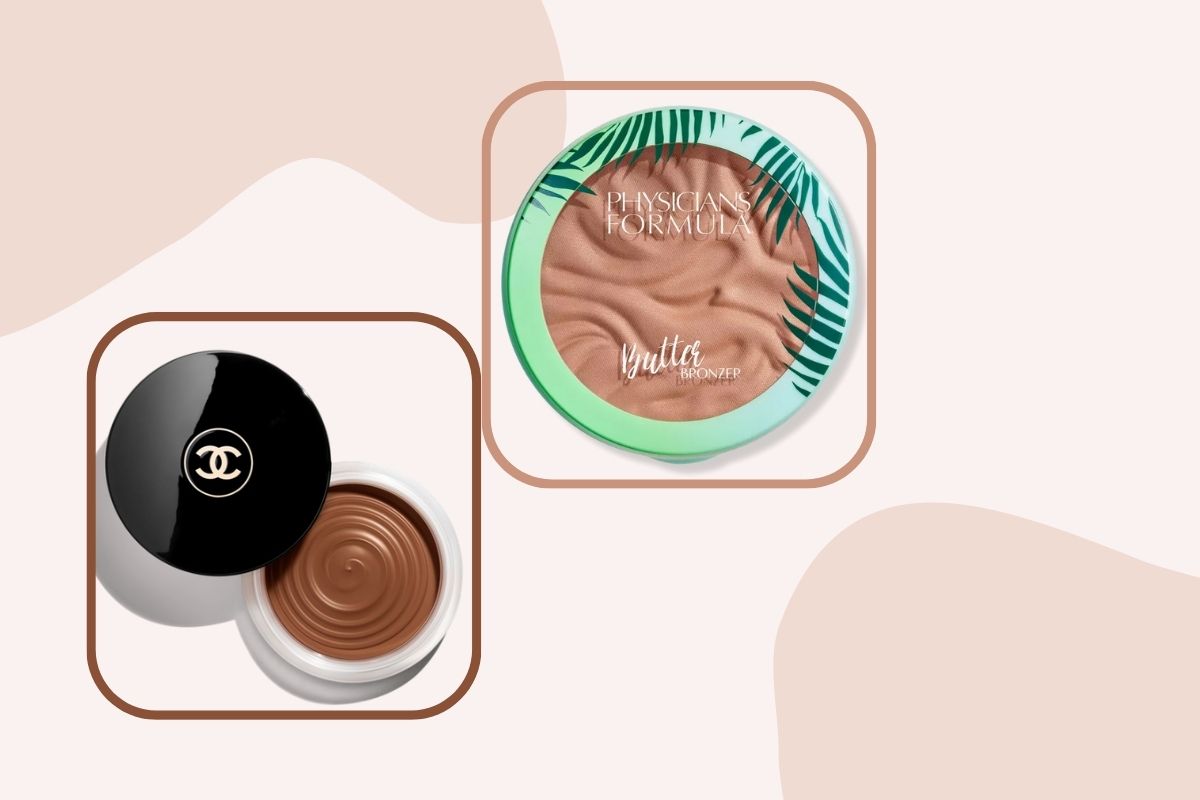
There’s no right or wrong blush, but for creating this look, some work better. For example, it’s best to use a matte finish blush instead of a shimmery blush as we’ll be using it almost all around the face and shimmer can add unnecessary detail.
You can use powder, cream, or liquid blush depending on your preference. In terms of color, certain blush colors are better at faking a tan. Copper, deep shades of purple, high-pigment peach, and coral look amazing on any skin tone!
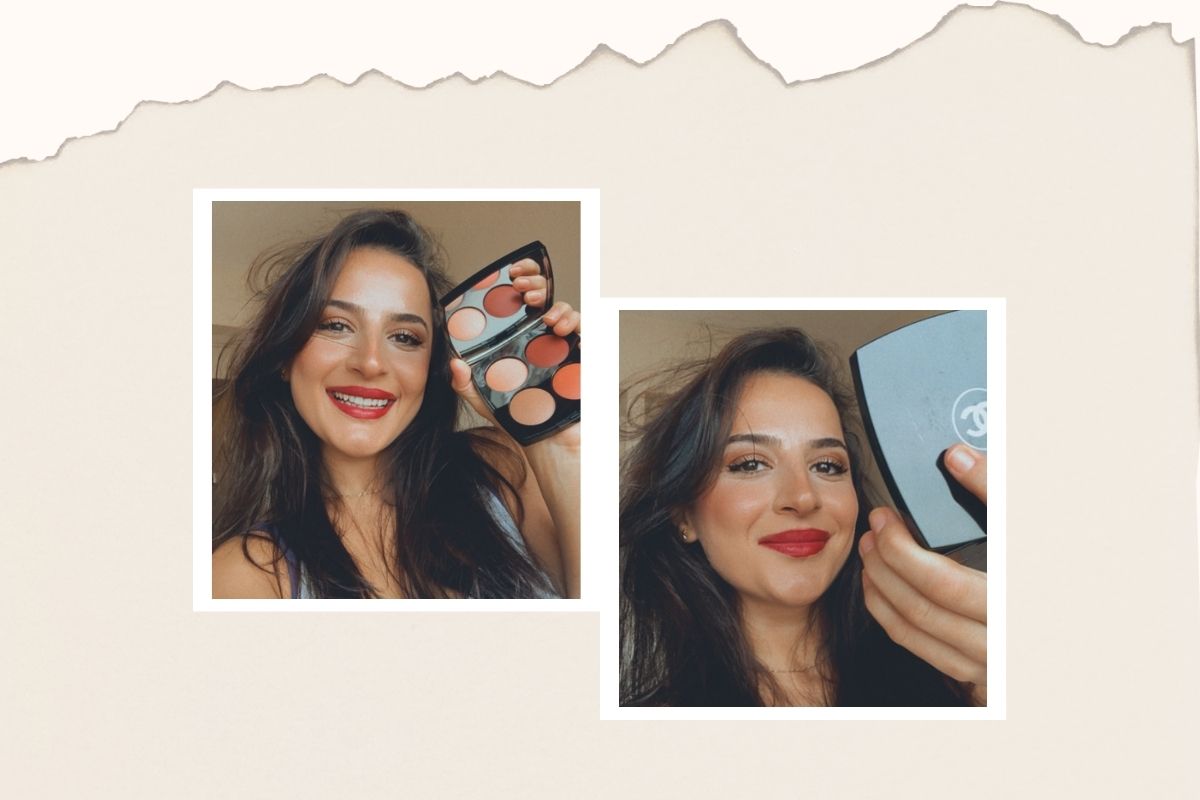
Step 3: Apply Blush in 3 Dots
Here’s the most important thing in this step: apply two dots of blush on each cheek and a tiny dot on the bridge of the nose. Blend the blush starting from the center of the cheeks toward the sides.
This is usually the opposite of what we do but remember, a real sunburn is more visible on the top of the cheeks than on the sides. So trust the process.
Once the cheeks are done, blend the blush on your nose in place by buffing it in. It doesn’t matter whether you’re using your fingers, sponge, or brush to apply your blush. But I’ve seen that a brush is better for the first layer.
Step 4: Blend to Make It a ‘W’ Shape
At this point, all you need to do is slowly blend the blush in place to reinforce a ‘W’ shape. Remember to do it in small motions so that the blush doesn’t spread out too much. Make swirling motions in place.
This whole look mimics the natural redness you might get from sun exposure. So keep that image in mind when you’re blending and focus on creating a gradient effect as opposed to harsh lines.
To complete the look, dust your brush over your forehead and the tip of the chin. Use very small amounts. This is just to make things look more natural, So avoid drawing too much attention to those areas.
Step 5: Fix Any Mistakes
If at any point things start to look out of place or you believe you’ve overdone things, don’t worry. Get your concealer and apply a tiny dot of it where you want to tone things down.
Use a damp beauty blender or your fingers or a clean makeup brush to blend the concealer into that area.
This will balance the color. Personally, I usually end up dragging the blush a little too low when blending, which emphasizes my smile lines. So this technique helps me clean things up.
Step 6: Finish with Gloss
This whole look makes you look really fresh and youthful. So I think gloss is the perfect match to finish things off. You can try a complementing lipstick color or a lip liner but I love a nice nude or pink gloss for this look.
Read Next: How to Apply Makeup on Dry Skin